Saturday 16 November 2013

Make your own personalised Christmas stocking or buy one of mine!

 Making a Christmas stocking really is easy peasy! Anyone can do it! Here is one that I made this weekend for my lovely little boy! Although he won't know it's Christmas at all this year! It takes approximately 2 hours maximum and leaves you with a family heirloom for life! Treasured happy memories for years to come when it's got out of the loft and hung up every Christmas Eve, perhaps next to a mince pie and a glass of sherry for you know who!


Cutout 2 stocking shapes right sides together

Work out some simple shapes to decorate your stocking


Iron your fabric to wondaweb and cut out your shapes


 Peel off the back of your wondaweb and iron it onto your stocking


Using a tight zig zag satin stitch sew your shapes on

Run a zig zag stitch round the endge of your stocking shapes. Attach some fur to the top for added Xmas gusto and then sew your pieces right sides together leaving a 1.5 cm seam allowance. Hey presto!


Available at my Etsy shop!


Wednesday 13 November 2013

Personalised baby quilts - international orders

 
My lovely James is 12 weeks old this week! Goodness me how time flies! His smiles are gorgeous and I'm so enjoying watching him grow. We go for lovely walks with dusty hound dog and spend lots of time looking at the sea! I'm hoping to stay at home more with my lovely boy and am keen to try to only return to work at my wonderful school in a part time way. I love it there but the hours are long and every moment with sweet baby James in special. So I'm stepping up the making money from home schemes! Quilting like mad! This week I had a couple of exciting international orders one from Ireland and one from the Netherlands. I loved completing them and James it turns out quite likes the sound of the sewing machine whirring!


Below are some step by step photos to my quilt  to inspire you! If you would like your own visit my Etsy shop - link to the right and buy your own!


Wednesday 11 September 2013

New quilts and new babies

Now my little arrival James came into the world on the 30th August 2013 so I cannot pretend I have made this since but whilst waiting! I'm hoping to start making again soon to help make some pennies to spend on nappies and also because I have loved making these items so much.

James is a perfect little arrival and it's been so lovely to see him snuggled up in the quilts I have made for him. I'd love others to see their precious cargos snuggled up in my little creations.

This quilt is available on Etsy if you are interested!

Monday 26 August 2013

Baby quilts that feed the imagination

This summer I have been quietly waiting for my first baby to arrive and in a whirl of nesting have been sewing my heart out! Quilts are not tricky to make and such fun, you can really let your imagination run wild! I decided to focus on my local landscape for inspiration, the downs and the sea. Below are some basic instructions but if you don't fancy making one yourself I have tentatively begun making them to sell on Ebay and Etsy at a starting price of £24.99. They make lovely gifts, contact me directly and I would be happy to personalise a quilt to your theme with a name or date of birth for just £45.00.
http://www.etsy.com/shop/Quiltsfromthecoast.


The average cot dimensions are: 56cmx118cm, so a good size quilt in 56cmx 80cm

To make a quilt you will need:


A range of coordinated fabric.
Wadding.
White cotton backing.
Matching thread.

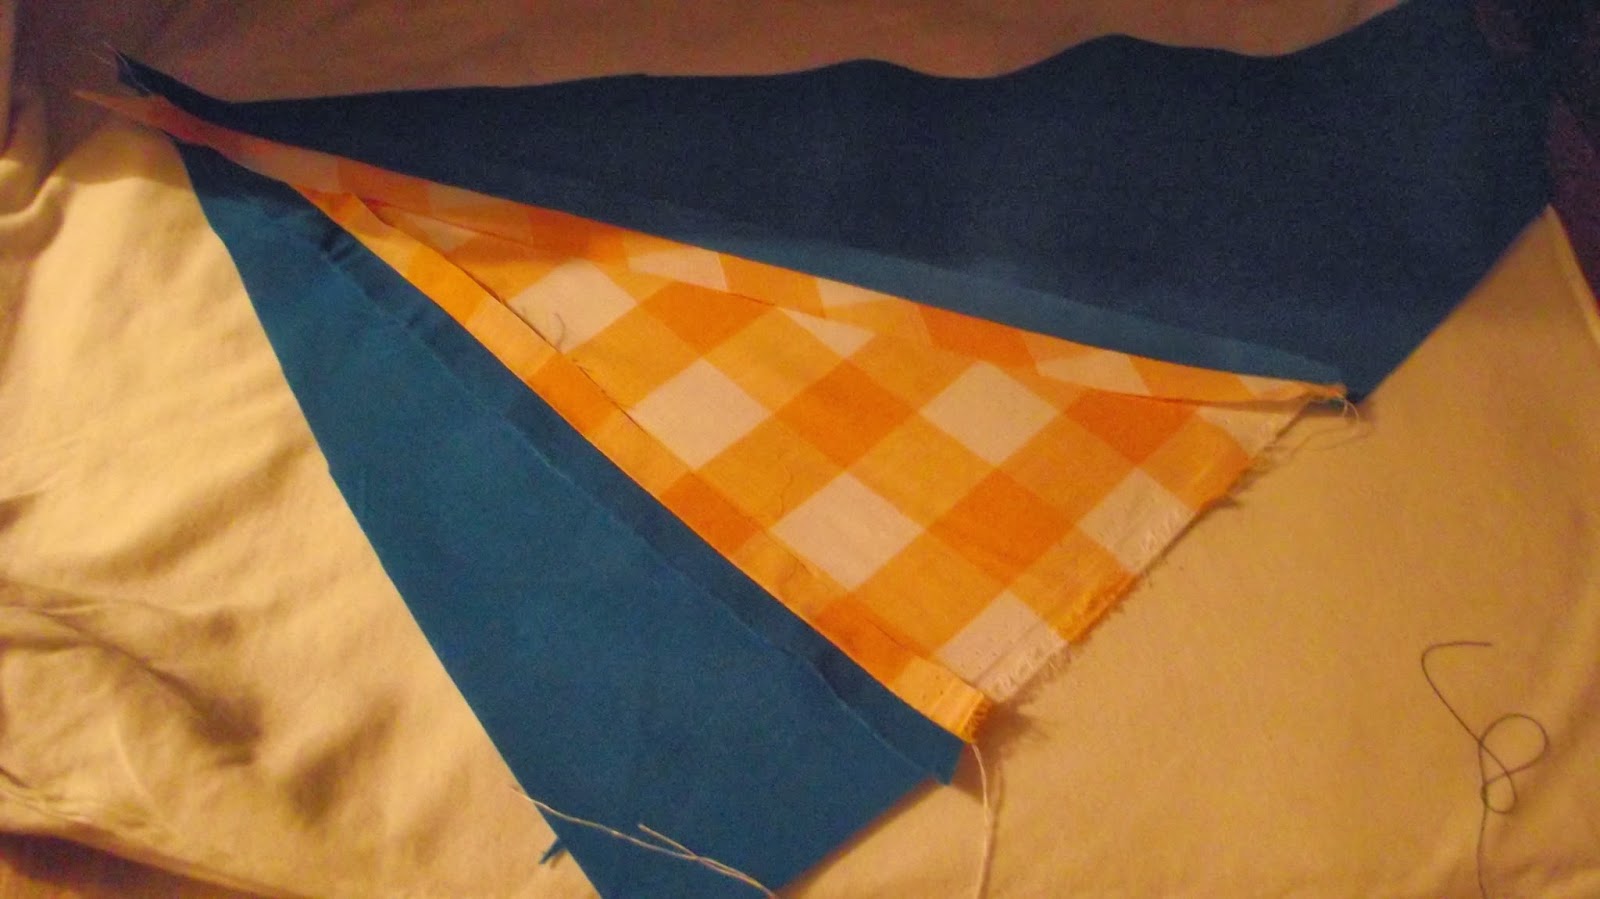
1) First make your background, it doesn't have to be complicated, simple stripes are a good place to start. Sew fabrics right sides together and iron open each seam flat. This should measure 49cm x 73cm.
2) Attach a border of your colour choice of 6.5cm wide. Sewing right sides together with a 1.5cm seam allowance
3) Tac the wadding lightly to the back of your base, now the fun can begin!
4) Make a little sketch of what you fancy to applique on, a boat... a rocket.....a car...... it's up to you!
5) Iron your chosen colours onto vilene or bondaweb to prevent fraying or stretching.
6) Cut your shapes out and tac in place onto your background.
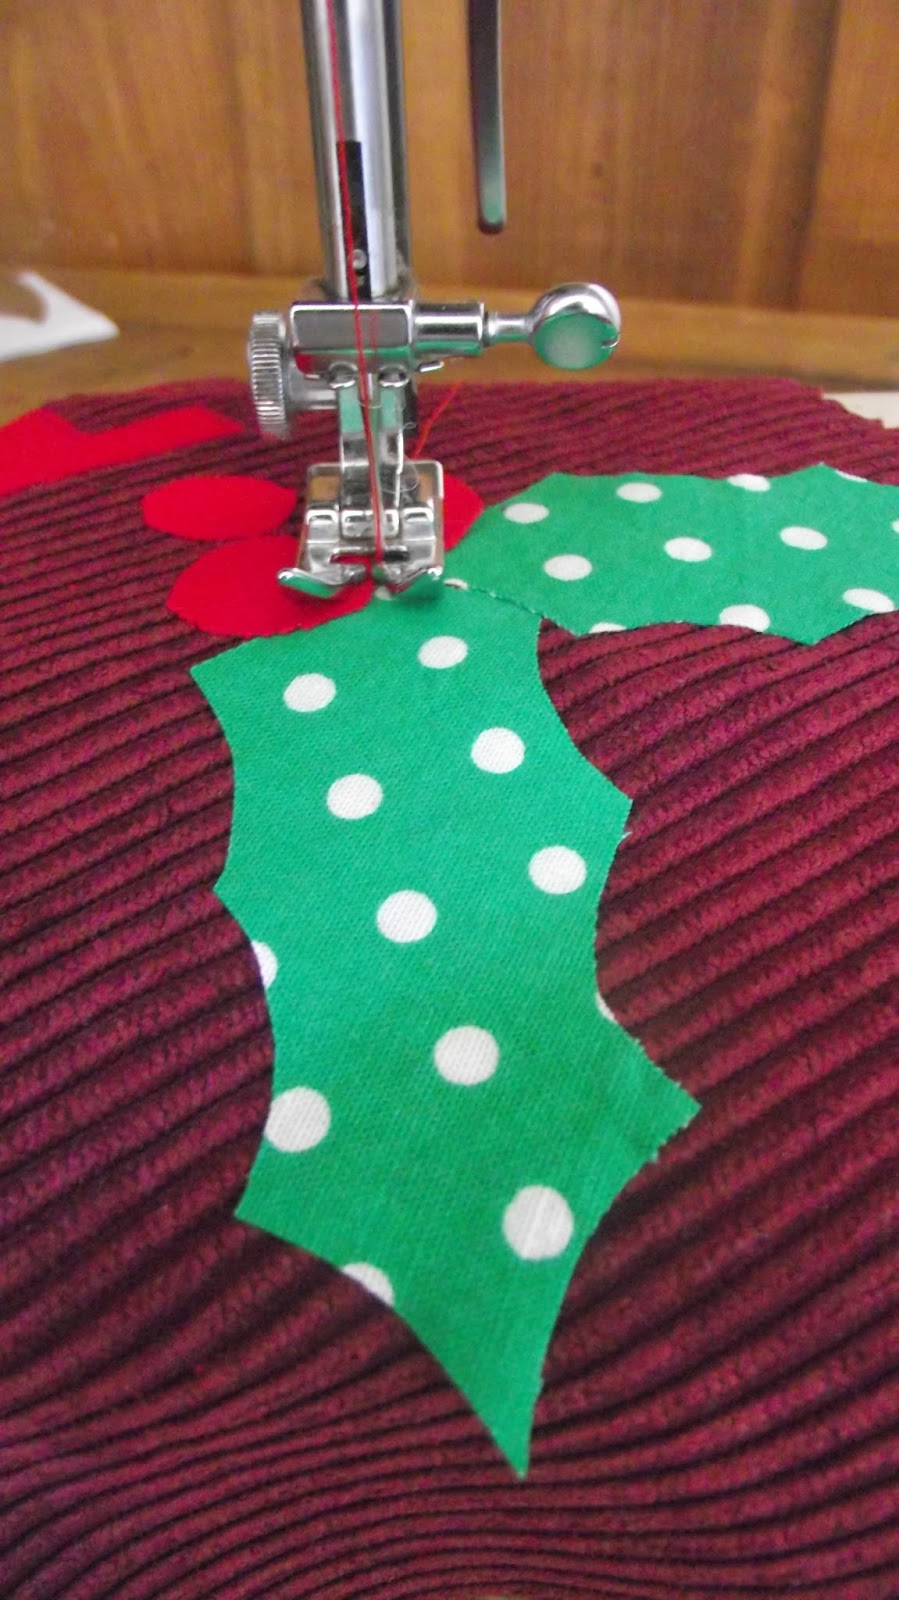
7) Using a zig zag satin stitch sew into place slowly.
8) It's nice to add freehand embroidery too, an embroidery foot is worth its wait in gold!
9) When finished add your white backing. Sew right sides together with a 1.5cm seam allowance leaving a small gap to turn it the right way out.
10) Turn it out and iron flat. I like to run a straight stitch around the edge to finish it nicely!

Have fun, I did! Now all I need is a baby! So far a week overdue!

Wednesday 2 November 2011

All sorts of things grow in my bathroom!

Mildew, cobwebs........no trees!

In my bathroom a miracle has occurred! A tree has grown! It's taken a while of course, they grow from acorns don't you know! The summer was full of stunning weddings, Chris excelled himself with baking two wedding cakes! I have spent the summer gardening, and preparing for my new job which I started in September. I have of course neglected to record and share any of my little projects, jam, harvest time, table plans, printing, set building. Last time I wrote I'd visited Charleston with my friend Helen Tovey. This is the next stage in my bathroom madness! And although my bathroom is still mdf hell it's getting there!

The tree was drawn in dry wipe pen then painted in tile paint. Tile paint is the worst product I have ever come across in my life! It just does not work at all! Do not use it. After 3 dreadful, drippy, yucky coats of tile paint I switched tack and used exterior gloss for metal as recommended in my hardware store. 

I then completed detail in acrylic and covered it in 3 coats of yacht varnish, I don't know how log it will last! Probably just as long as it takes for Chris to get totally sick of it and re tile! Not long then!

Next will be to mosaic the floor! Am I cracking up.....get it.....cracking up......mosaic.......oh well never mind!